Manipulatives are objects students or teachers use within a lesson to teach or reinforce a concept.
Manipulatives are engaging and playful. They make abstract musical concepts visual and concrete.
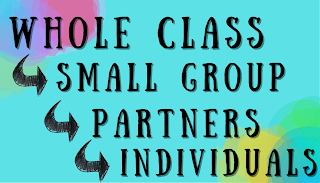
Digital manipulatives made to be dragged/dropped, etc. do not engage the brain in the same way and do not impact fine motor skills. Digital manipulatives are also not typically used in small groups and do encourage social interaction among peers. There is a time and place for tech. Using hands-on manipulatives, students develop and practice communication skills with small group composition or partner play. Kinesthetic learners need the tactile experiences hands-on manipulatives provide. The best reason to use them is simple - they are inexpensive, and FUN!
Learning Sequence
Pulse/Rhythm
Popsicle sticks for rhythm dictation and composition - I prefer just the large colored ones from Dollar Tree. Some people prefer small and large ones, but I really like to KISS - Keep It Simple Sweetie!
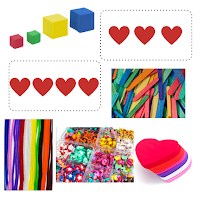
Foam hearts - perfect to find at Dollar Tree or your favorite craft store! Write various rhythms on each one.
Pipe cleaners to create notes and Noteman (thanks to Shari and Ashley for this idea).
Two- beat building bricks. I have so many sets of these for various activities and content areas available in my Patreon community. Print, cut, and give to students!
Rhythm Dice; these can be created from purchased wooden dice or foam - Dollar Tree has carried these in the past. Draw notes on each side with sharpie. Make sets of these with quarter, eighth, and quarter rest, another set which includes two single eighth notes, and another set which includes sixteenth notes. Each side of the die is a single pulse/beat.
Group together and put into a plastic baggie - get the good heavy freezer bags and punch a hole in the top so when students put them back in and close them the air escapes and they lay flat. Four inch (or so) piece of string in the bag to show tied notes.
Mini erasers - These are great to use for notating the number of sounds on beat strips. Also, they are just SO cute!
Melody
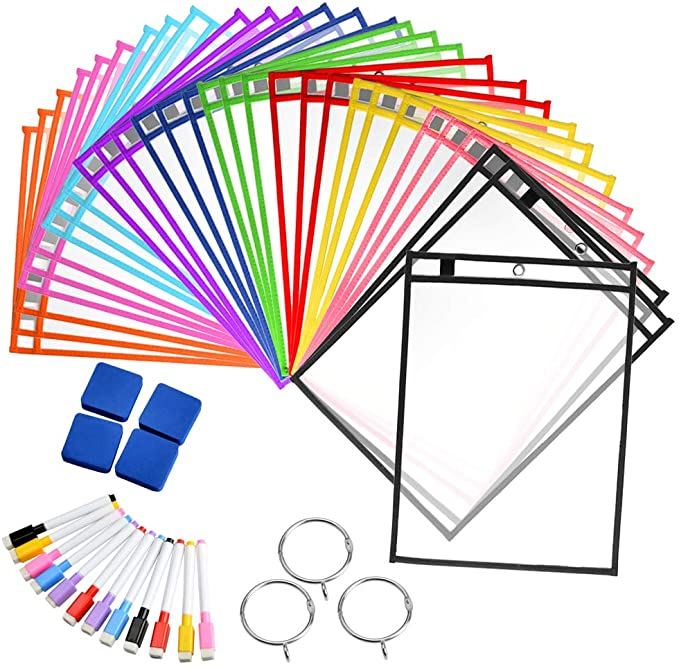
Staff boards

Draw a 2-line, 3-line, or full staff on a white piece of paper, draw four boxes on the back for a 4-beat rhythm area and place the page inside these page protectors (click on photo to go to Amazon link). Use dry erase marker or your favorite mini-erasers, transparent bingo chips, or other manipulatives.
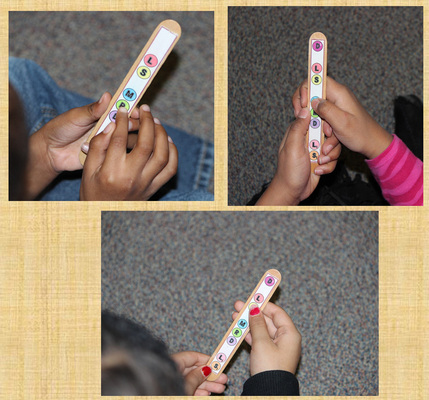
Popsicle Stick Texting Sticks
I love these as they make solfege ladders become more personal and interactive. Click on the picture to see Ms. Manguso's tutorial and free downloadable images. Use a glue stick or Modge Podge to stick the printed letters on.
Felt staff with notes. Sew a zigzag stitch or use fabric paint to create lines on rectangles of felt, cut black circles from black felt for the notes or use Bingo chips.
Skittles and M & M's
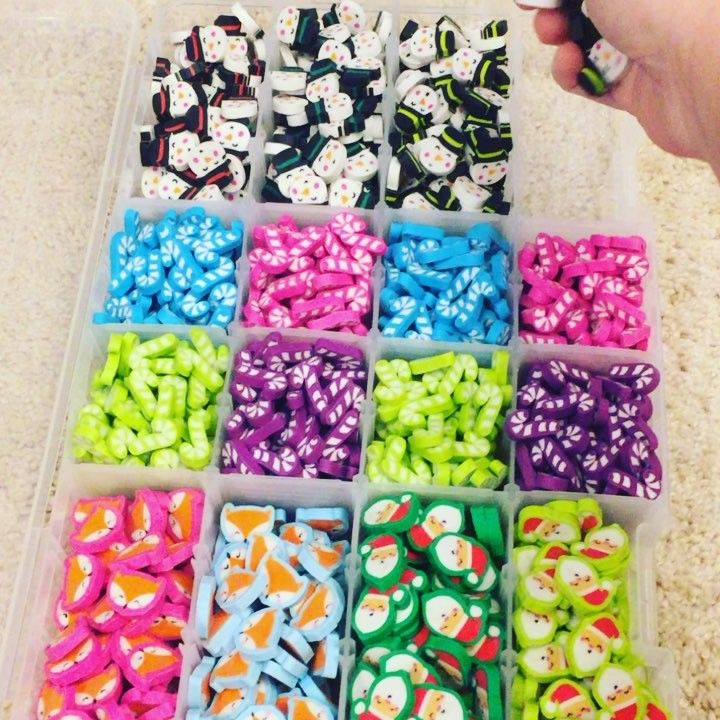
Mini Erasers
Great for kinesthetic learners (and everyone) and fun for students to manipulate. Target has these in the Dollar Spot often and are seasonally themed.
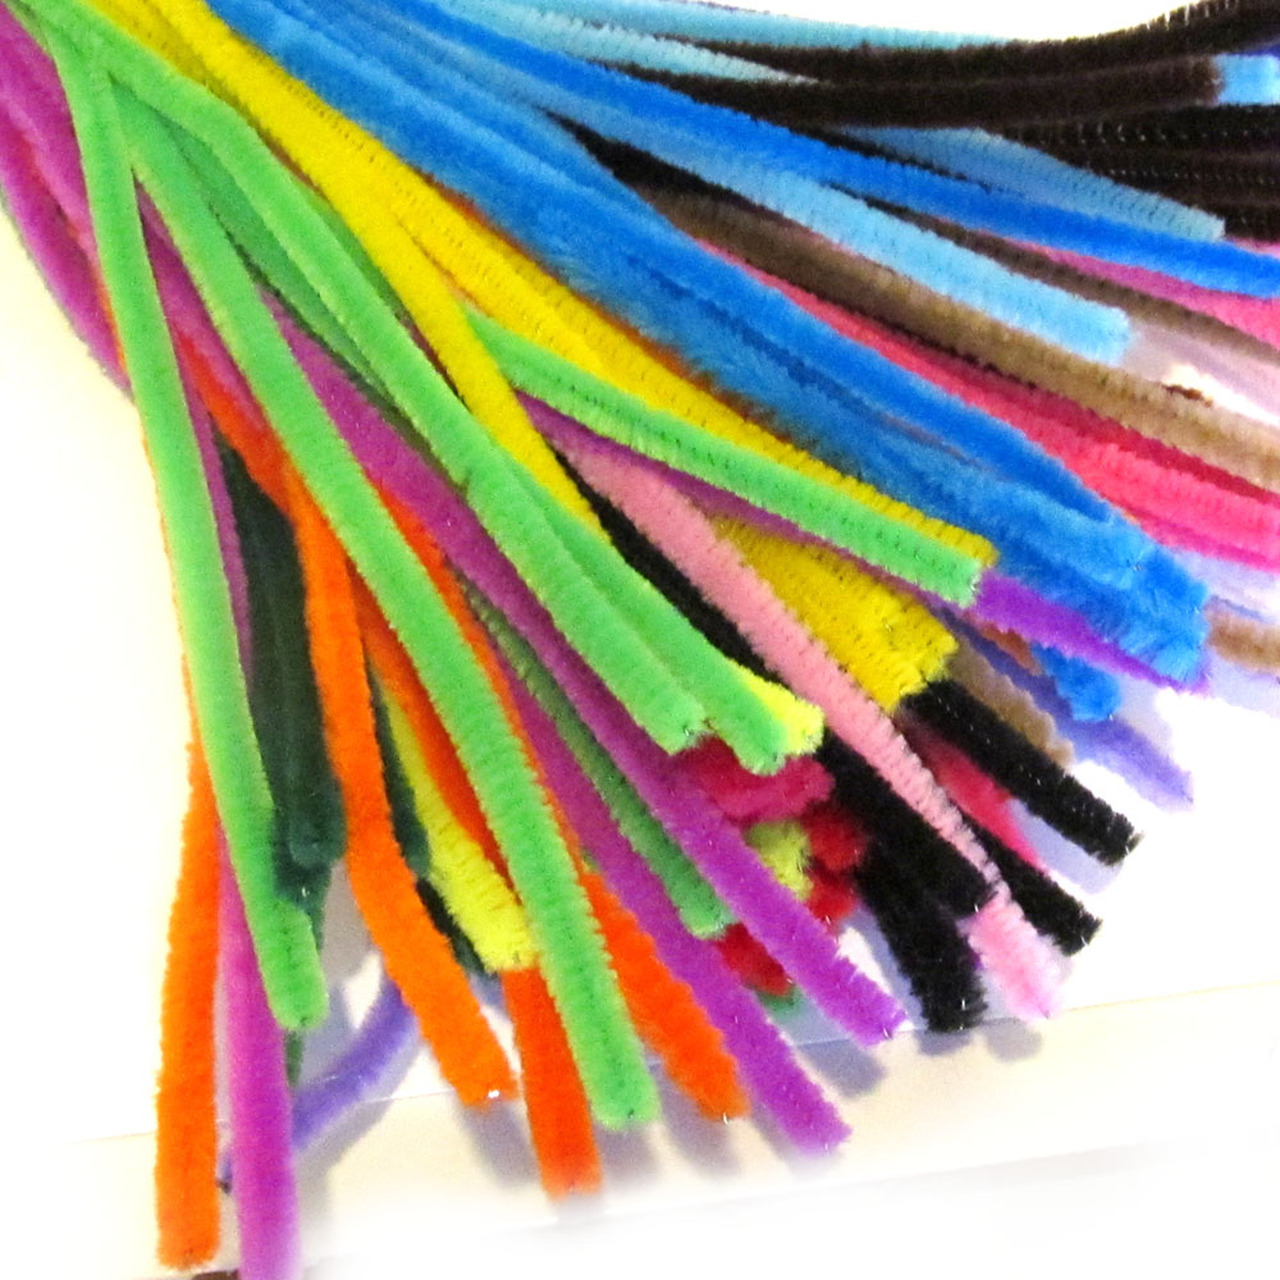
Pipe Cleaners/Chenille Stems
Children love the fuzzy texture and bright colors and most of them have not used them before! They are the most flexible (pun intended), highly underrated, and undervalued. They are also wonderful for fine motor control! You can roll and bend them into notation shapes, use horizontally to demonstrate so and mi/high and low, and bend them to show vocal exploration or movement pathways! SO much fun in something so very small.
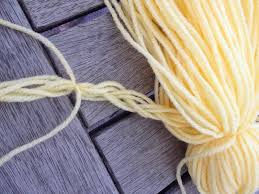
Yarn for students to create vocal exploration (and movement) pathways
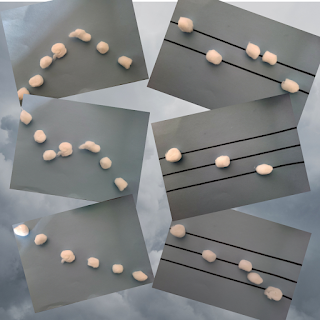
Cotton Balls for vocal exploration and melodies on a sky blue paper background.
Form
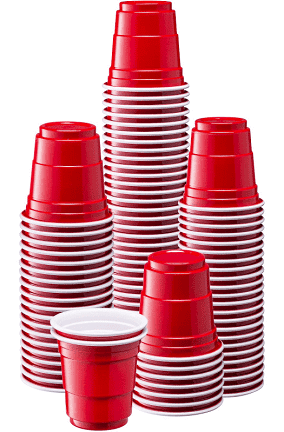
Cups - I like the Mini "Solo" Cups Dollar Tree has - they always have the red ones and at Christmas time they also carry green. You could also use any other cups in two or three colors to create elemental forms of ABAB, ABBA, AABB, etc.
Construction paper or foam shapes cut into 4" squares, circles, triangles - one color per shape and one letter per shape - A, B, and C
I hope these give you some ideas. There are so many other favorite manipulatives - what are some of yours?
Enjoy,