Showing posts with label 3/4 time signature. Show all posts

Sunday, March 6, 2022

Manipulatives - The Why and The What


Manipulatives are objects students or teachers use within a lesson to teach or reinforce a concept. 

Manipulatives are engaging and playful.  They make abstract musical concepts visual and concrete. 

Digital manipulatives made to be dragged/dropped, etc. do not engage the brain in the same way and do not impact fine motor skills.  Digital manipulatives are also not typically used in small groups and do encourage social interaction among peers.  There is a time and place for tech.  Using hands-on manipulatives, students develop and practice communication skills with small group composition or partner play.  Kinesthetic learners need the tactile experiences hands-on manipulatives provide. The best reason to use them is simple - they are inexpensive, and FUN!  

Learning Sequence


 This gives students  a variety of experiences and provides structure and familiarity while working in small groups, then partners, before individuals use manipulatives alone.

Pulse/Rhythm

When using manipulatives with rhythm I begin with imitation - students recreate the rhythms displayed. For example, students will recreate a displayed rhythm with popsicle sticks.  Then we explore rhythms using building bricks, later we would write rhythms with dry erase boards and eventually we would use pencil and paper after many experiences with imitating, exploring, and creating with manipulatives. 
Beat strips - four hearts on one side, three on the other.  This way you can work in triple and duple meters!

Popsicle sticks for rhythm dictation and composition - I prefer just the large colored ones from Dollar Tree. Some people prefer small and large ones, but I really like to KISS - Keep It Simple Sweetie! 

Foam hearts - perfect to find at Dollar Tree or your favorite craft store!  Write various rhythms on each one. 

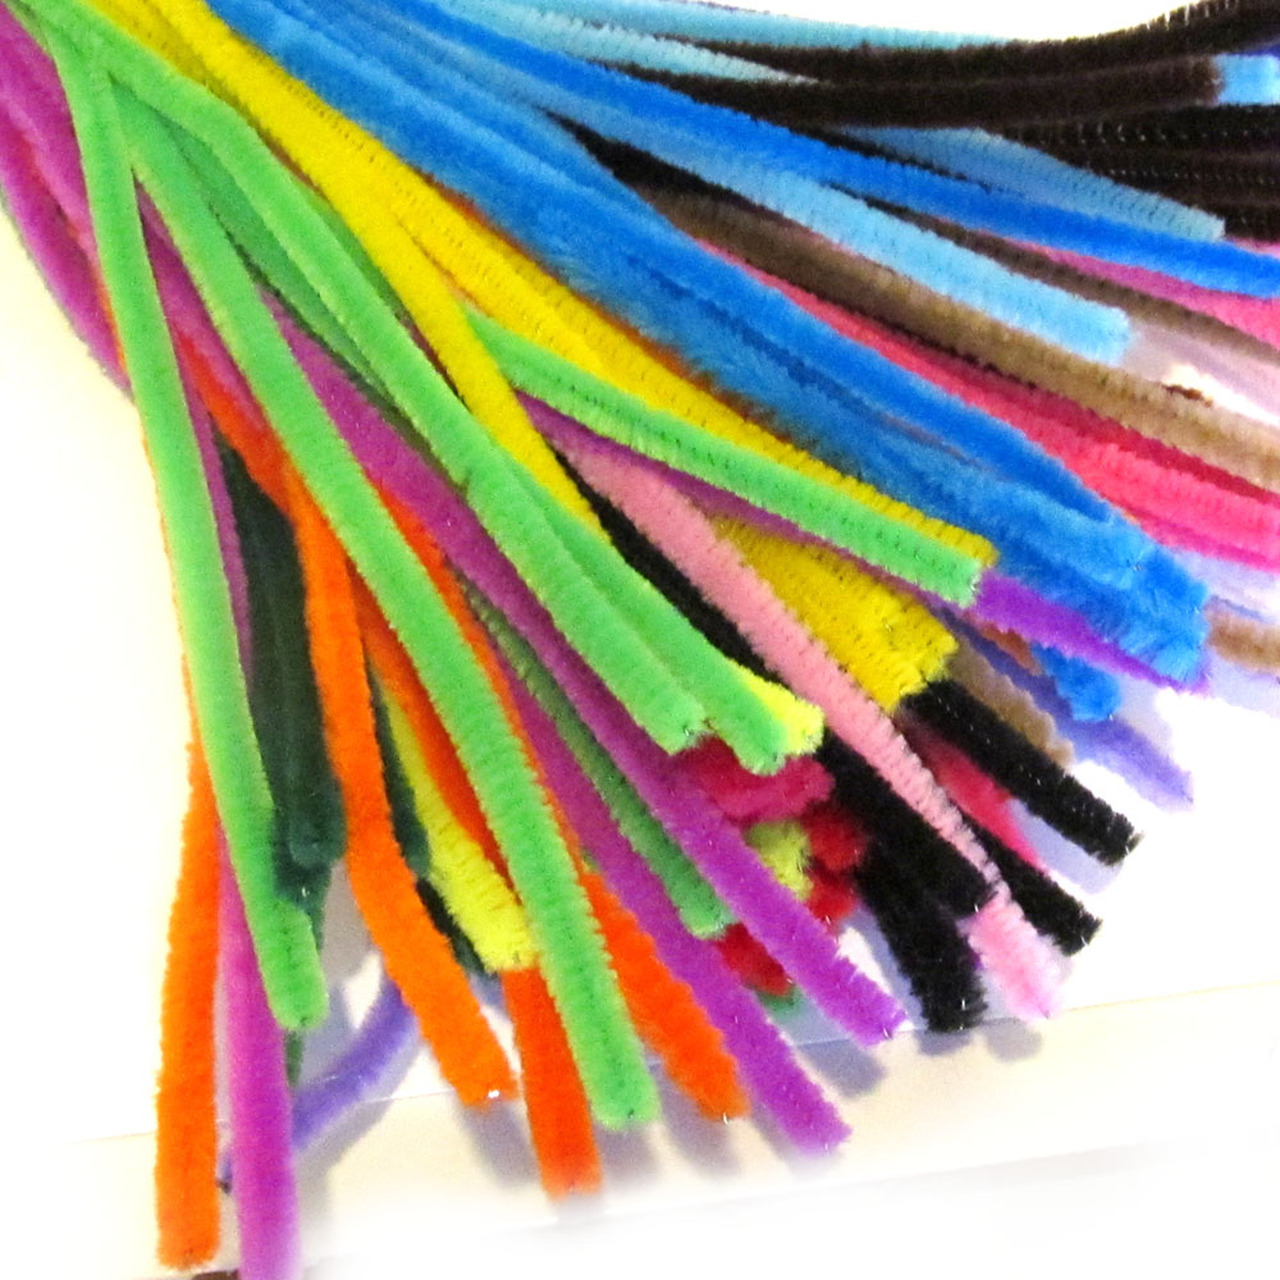
Pipe cleaners to create notes and Noteman (thanks to Shari and Ashley for this idea).

Two- beat building bricks.  I have so many sets of these for various activities and content areas available in my Patreon community.  Print, cut, and give to students! 

Rhythm Dice; these can be created from purchased wooden dice or foam - Dollar Tree has carried these in the past. Draw notes on each side with sharpie.  Make sets of these with quarter, eighth, and quarter rest, another set which includes two single eighth notes, and another set which includes sixteenth notes.  Each side of the die is a single pulse/beat.

Group together and put into a plastic baggie - get the good heavy freezer bags and punch a hole in the top so when students put them back in and close them the air escapes and they lay flat.  Four inch (or so) piece of string in the bag to show tied notes. 

Mini erasers - These are great to use for notating the number of sounds on beat strips. Also, they are just SO cute! 


Melody

Staff boards                                                                                                                                                   

These are commercially available from your favorite music retailer but can be pricey.
I particularly like these staff boards made out of dollar store cookie sheets and electrical tape (also from dollar store).  Original idea from Elizabeth at Organized Chaos. On the back you could make a 2-line or 3-line staff or 4-beat rhythm blocks (the bottom shown here is 8-beats). 
You don't have to use the purchased magnets (they can be pricey); you could use foam (available in craft packs from Dollar Tree) and cut out circles to glue googly eyes on and then glue small round magnets (dollar stores and craft stores carry these).


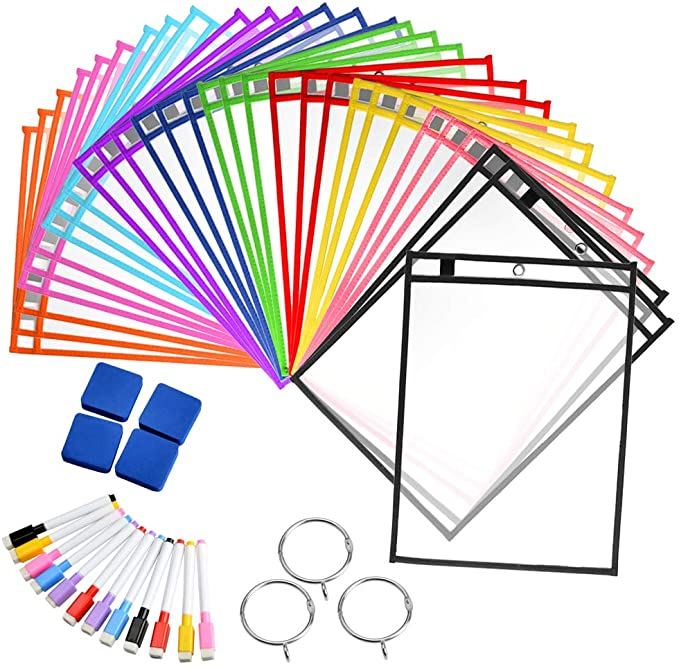
Draw a 2-line, 3-line, or full staff on a white piece of paper, draw four boxes on the back for a 4-beat rhythm area and place the page inside these page protectors (click on photo to go to Amazon link).  Use dry erase marker or your favorite mini-erasers, transparent bingo chips, or other manipulatives.


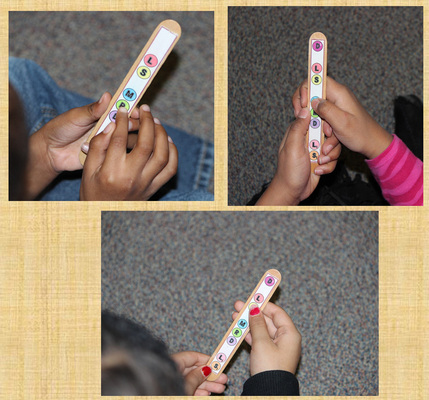
Popsicle Stick Texting Sticks

I love these as they make solfege ladders become more personal and interactive. Click on the picture to see Ms. Manguso's tutorial and free downloadable images.  Use a glue stick or Modge Podge to stick the printed letters on. 


Felt staff with notes. Sew a zigzag stitch or use fabric paint to create lines on rectangles of felt, cut black circles from black felt for the notes or use Bingo chips. 

Skittles and M & M's 

S printed on Skittles and M printed on M and M's - give a variety of each to students to dictate a 4-beat solfege phrase for So and Mi, notate a SM song, or have students create their own!

Mini Erasers

Great for kinesthetic learners (and everyone) and fun for students to manipulate. Target has these in the Dollar Spot often and are seasonally themed. 


Pipe Cleaners/Chenille Stems

Children love the fuzzy texture and bright colors and most of them have not used them before! They are the most flexible (pun intended), highly underrated, and undervalued.  They are also wonderful for fine motor control!  You can roll and bend them into notation shapes, use horizontally to demonstrate so and mi/high and low, and bend them to show vocal exploration or movement pathways!  SO much fun in something so very small.  


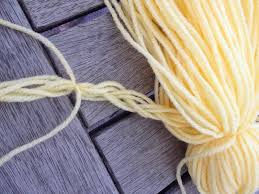
Yarn for students to create vocal exploration (and movement) pathways

Cotton Balls for vocal exploration and melodies on a sky blue paper background.


Form

Cups - I like the Mini "Solo" Cups Dollar Tree has - they always have the red ones and at Christmas time they also carry green. You could also use any other cups in two or three colors to create elemental forms of ABAB, ABBA, AABB, etc. 


Construction paper or foam shapes cut into 4" squares, circles, triangles - one color per shape and one letter per shape - A, B, and C


I hope these give you some ideas. There are so many other favorite manipulatives - what are some of yours?

Enjoy,


Thursday, November 15, 2018

Jan Ken Pon Yo

In Japan, there are epic battles that have played out for centuries. Yes, you guessed it, Janken or "Hand Games".  In the US we call this game Rock, Paper, Scissors.  I use Rock, Paper, Scissors as a way to determine partners, and as a way to determine who plays what instrument. My students are allowed to choose Orff instruments when we use them - and so I call small groups of students and if two students go the same instrument at one time they immediately go into "Rock, Paper, Scissors" mode and that determines who plays what.  It is a random determiner and the children never fuss about who won as it is solely by chance! Win win!


This is a great song for mixed meter.  The body percussion is something my students helped me to create as when I first taught this I had a class that struggled with the feeling of 2 vs 3 so we quickly devised some body percussion patterns to reinforce that feeling. It stuck! Once the song is learned, students can play the game:
Class stands in a designated area, each facing a partner.
Sing song, performing body percussion. At end of song, students tap one hand in a fist onto the other hands open palm on "one, two, three, four" and on "five" they reveal rock, paper, or scissors.
Those who win stay in the designated area and find a new partner, all others circle around them. Everyone sings again, performs the game with new partners, winning partners remain to find new partners, etc. until there is one winner. My students beg to play this game and it is a great one when you need a quick 3-4 minute activity or brain break.
You can also add the extension activity with the cards below.  Print out enough for small groups to create rhythmic B sections in triple or duple meter (or both!) and have some fun with having students create the corresponding hand signs as an added challenge. Transfer to unpitched percussion-  it works out nicely as there are 4 cards to go with the 4 timbre groups of metals, skins, shakers, and woods!
This song and game makes a great addition to a unit on Japanese music.


Enjoy!


Wednesday, February 11, 2015

Valentine's Roses Are Red with the flu to use with Ukuleles!

So I just began to teach ukuleles two weeks ago.. we ordered them on a Wednesday, they got here on Friday (thanks, Amazon.com!) and I used them for the first time last Tuesday.  A fellow Orff teacher shared how to begin by teaching the story of the Four Little Pigs (George, Charlie, Edgar, Allison) to teach the string names.. kids loved it and the fourth graders remembered today the names of the strings!  Hallelujah! RETENTION! 
I have been working to develop some lessons where students play borduns (first and fifth of chord structures) on Orff instruments AND ukuleles and my last group of 4th graders just left and we had a BLAST!  I used "Roses are Red" set in 3/4; yes, I know most of you are probably saying, "It's 6/8!".  Well, yes... but, for our purposes today we used 3/4 in order to feel STRONG beats in 3 and also because while we experience 6/8, my 5th grade music teachers teach 6/8 and we don't label it in 4th.  :)
So... longer story longer... here it is! 

1.  Sing song, students pat or sway to the strong beat several times, then sing the song.  They will want to add "achoo" after the 2nd verse about the flu.. go for it!  Way more fun!
2.  Review how to play C chord (every other student has a ukulele; we are partnered and I tell them once they've learned it they are the expert and have to help their partners!). Let them just PLAY for several minutes to review how to strum down, etc. and then switch.. I walk around fixing fingers, etc.
3.  Show the slides with the music, talk through how to play only where it has a "C" above the measure, make a grand, STOP gesture or use a STOP sign to show where to NOT PLAY (G7 chords).  If your students already know this, wonderful; mine don't and this was their 2nd lesson in ukes. Switch so 2nd partner has a turn, do same thing (by this time I am NOT singing and only they are.. I'm pretty firm on this!).
4.  Show how to pluck the top string closest to their "chinny chin chins" for the "G7" chord.  Keep holding on to the C chord; don't let go!  Play using C chord and plucking G string (yes, I know.. but they don't know about G strings yet!).  Switch partners, play/sing.
5.  Each partner pair has an Orff instrument set up to play high C and G for C chord and remove bars around low G so they can switch to low G and high G (right hand stays in place on high G bar the entire time).  This will become the borduns the Orff instruments will play for C chord (high C/G) and G7 chord (low G/high G).  Play together with ukuleles, sing, switch, etc.
6.  Now comes the writing portion.  Show the slides new versions of the song and then the slides with the one syllable color words and rhyming words.  Students create new versions, give them about 10 minutes to practice, call time, one final minute to practice, then perform.  They were funny and clever.. some a little raunchy, which we had to discuss, of course.. ugh!  It was a fun lesson, though, and got them writing, singing, playing 2 kinds of instruments, accompanying themselves, and rhyming.. phew!  All in 40 minutes!!  Enjoy!
If you'd like as a pdf email me at musicquilt@hotmail.com